
Why Pavers Sink, and What Fixing It Involves
Pavers do not fail; the base under them moves. Read the dip to find the cause, and what an honest repair really involves, from lifting to re-sanding it.
· 11 min read
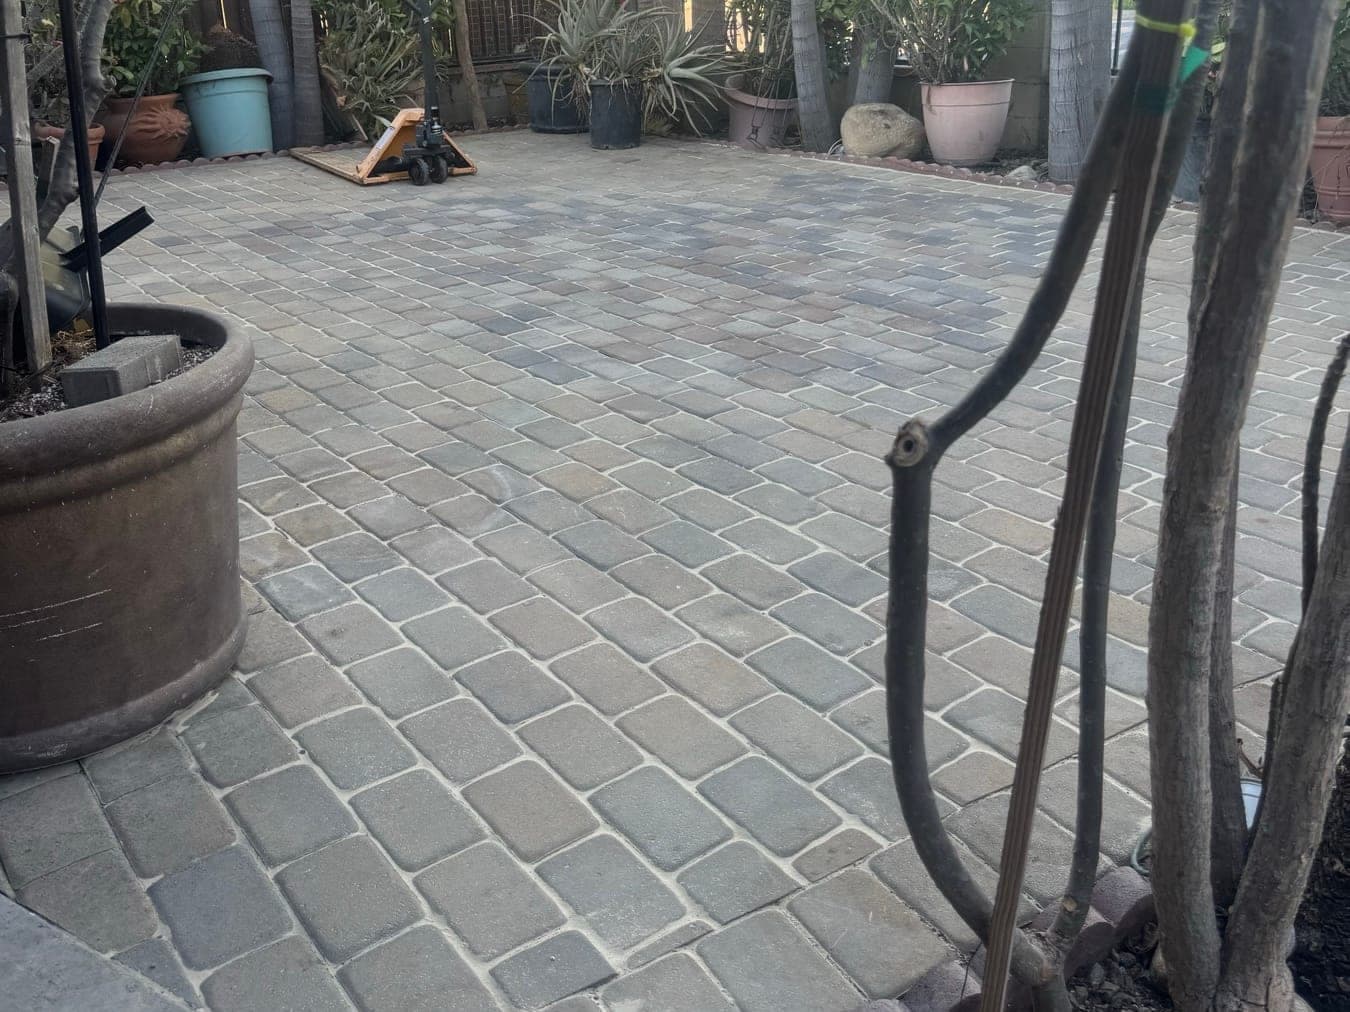
The pavers did not fail. Concrete pavers are manufactured units that will outlast the house. If part of your patio or driveway has dropped, something in the six to twelve inches underneath it moved — and the shape and location of the dip usually tells you which something.
That is the good news and the bad news in one sentence. Good, because a paver field is the only hard surface in your yard where the repair genuinely disappears: the same units come up, the base gets fixed, and the same units go back down with no patch and no color mismatch. Bad, because a real repair means taking it apart, and the most common "fix" — sweeping more sand under the low spot — buys you about a year.
Reading the dip
| What you see | Most likely cause |
|---|---|
| A soft dish somewhere in the middle of the field | Base compacted in one deep lift, or sand used to level |
| A settled strip in a straight line | An old utility trench, backfilled loose |
| Settlement along an edge, joints opening outward | Edge restraint failed, or the base stopped at the paver line |
| Ruts along the wheel tracks | Base too thin for the load actually using it |
| A dip near a downspout, hose bib, or drain | Water washing fines out of the base |
| A wet, spongy area that stays damp | An irrigation leak under the field |
| One or two units rocking, everything else flat | Joint sand gone, not settlement |
| A raised hump, not a dip | Tree root, or expansive clay swelling |
| The whole field creeping downhill | Restraint plus slope, no confinement |
If you can match your problem to a row, you already know most of what a contractor is going to tell you.
The failure modes, in order of how often we find them
Base compacted in one lift
The most common cause by a wide margin, and completely invisible for the first year or two.
Compaction energy from a plate compactor only reaches so far down. Dump eight or ten inches of aggregate and run the plate over the top and the top few inches densify beautifully while the bottom half stays loose. Then your car, your patio table, and two winters of rain finish the job — unevenly, because loose material never consolidates uniformly.
Base goes in a few inches at a time, each layer compacted before the next. A ten-inch base is three or four rounds of place-and-compact. It takes longer, it costs more in labor, and it is completely undetectable in the finished job on day one. That is precisely why it is where money gets taken out of a quote.
Sand doing a base's job
The second most common, and it usually comes from someone trying to be helpful.
Bedding sand is a setting bed, not a leveling layer. Its only job is to give each paver a consistent surface to seat into so the tops line up. It is screeded to one inch and left uncompacted until the pavers are down, then the whole field is compacted together.
When the base underneath has a low spot, the temptation is to fill it with extra sand instead of more aggregate. Sand does not compact like base and it does not stay where it is put — it consolidates, it migrates with water, and that patch drops. Nearly every isolated dip in an otherwise decent paver field is a place where sand was covering for a base.
Soft material left in the subgrade
Topsoil, an old root mat, buried construction debris, or the fill a builder pushed around when the house went up. All of it compresses under load. A perfect base built on top of soft native soil is a well-built base that settles.
The subgrade gets compacted before any aggregate goes on it, and anything that will not compact comes out first.
Water
Water is the destroyer here as it is everywhere else, and it has several routes in.
A paver surface is permeable at the joints by design — rain goes through it and reaches the base. That is fine as long as the base and the subgrade are shaped to move it somewhere. What kills a base is water sitting in it: saturated aggregate loses strength, fines migrate out of the mix, and the layer consolidates unevenly.
The specific culprits we find:
- A downspout discharging onto or beside the field. Concentrated roof water in one spot, every rain.
- No fall on the subgrade. The surface was sloped; the layer underneath was left flat, so water reaching the base has nowhere to go.
- A hose bib or a drain that leaks.
- An irrigation line running under the field. This one is worth a special mention: a slow leak under pavers is completely invisible from above until the area starts to drop and stay damp. If your dip is in a soft, dark area near a planter, run the irrigation and go look.
Edge restraint
A paver field is interlocked only as long as its perimeter is held. Remove the confinement and the outermost course pushes outward under load, joints open, sand escapes, and the loosening works its way inward — slowly at first, then not.
The classic shortcut is restraint spiked into soil beyond the edge of the base rather than pinned into compacted base. That is decorative. It is also why the excavation should run wider than the finished paver area: there has to be base under the edging.
Driveway edges take the most abuse, particularly the corner where a wheel tracks over the same spot turning in from the street.
Empty joints
The sand between pavers is structural. Load transfers from one unit into its neighbors through that joint. Empty joints mean each paver carries its load alone, which is how units start to rock individually even when the base under them is fine.
Joint sand leaves through pressure washing at the wrong angle, a leaf blower held too close, and hard rain running across a slope. Some settling of joint sand in the first year is normal and expected — plan on topping it up once. Persistent, ongoing loss means water is moving through the joints faster than it should, which is a drainage question.
Base too thin for what actually uses it
A patio-grade base under something that gets driven on. It shows up as ruts in the wheel tracks rather than a dish, because the load is concentrated along two lines.
This includes surfaces that were built honestly for one use and then got another: a walkway a contractor's truck now parks on, a patio that a delivery vehicle backs across, a driveway that was fine until a heavier vehicle joined the household.
Someone dug it up
Utility work, a sewer repair, a pool line. A trench backfilled loose settles for years, and the paver field above it settles with it in a straight line. The upside is that pavers are the right surface to have when this happens, because the repair is invisible. The condition is that whoever backfilled compacted in lifts, which they frequently did not.
What a real repair involves
Here is the honest sequence, because the effort is the part people underestimate.
Find the cause before touching anything. Dig a test hole at the edge of the dip. Is the base wet? Is it loose? Is there three inches of sand where there should be one? Run the irrigation and watch. Look at where the roof water goes. Repairing a settled area without answering this question guarantees you do it again.
Lift the pavers. They come up individually with an extractor or a pair of screwdrivers, starting from a cut edge or by sacrificing one unit. They get stacked in order, and on a running-bond or herringbone pattern their orientation matters if you want the relay to line up.
Take out the bedding sand. All of it, not just the loose part.
Excavate the failed base to sound material. The repair area is always larger than the visible dip — the failure extends past where the surface has dropped, and stopping at the edge of the low spot leaves you relaying onto the edge of a problem.
Fix the actual cause. Reroute the downspout. Repair the leak. Remove the soft material. Add a drain if the water genuinely has nowhere to go. Shape the subgrade so it falls. This is the step that determines whether the repair lasts.
Rebuild the base in lifts, compacting each one, keying into the sound base at the edges of the excavation rather than leaving a vertical seam.
Screed one inch of bedding sand. One. This is where the temptation to make up a difference with sand returns, and it is where the repair gets ruined.
Relay the pavers, working to a string line off the surrounding field, and set them slightly high — plate compaction drops them, and a repair screeded dead flat before compaction ends up slightly low afterwards.
Compact with a pad or mat under the plate, sweep joint sand in, compact again, sweep again. The first pass always drops the level.
Two things to expect afterwards. The lifted pavers will be cleaner than the ones around them, so the repair is visible for a season until weathering evens it out. And if the joints are refilled with new polymeric sand next to old, the color difference in the joints will show for a while.
What not to do
Do not just sweep sand under it. Lifting the pavers, throwing sand in the hole, and setting them back is the single most common paver "repair," and it is the reason people believe paver repairs do not hold. It puts a thicker sand layer over the same failed base. It looks perfect for a season.
Do not mortar pavers in place. Setting units in mortar or filling the joints with cement converts a flexible pavement into a rigid one with none of a slab's reinforcement. It cracks, it traps water, and it makes any future repair a demolition.
Do not seal over the problem. Joint stabilizing sealer on a settling area locks in the geometry you have.
Slab lifting does not apply here. Foam injection and mudjacking are techniques for raising a concrete slab. A paver field has no slab to lift — the units are individual, and injecting anything under them just displaces bedding sand.
Do not pressure wash the joints out and then wonder why the field loosened. If you wash pavers, keep the wand back and expect to re-sand afterwards.
When it is not worth repairing
Sometimes we look at a settled area, dig the test hole, and find two inches of base under a driveway. At that point spot repairs are a treadmill — you will fix one dip a year for the rest of the time you own the house, and each one costs a day of labor.
The honest recommendation there is to take the field up, rebuild the base properly, and relay the same pavers. The units are almost always fine. You are paying for excavation, base material, and labor, and you keep the surface you chose. It is a real expense and it is less than starting over, and it is what we would do at our own houses rather than chase dips.
The counterexample: if the field is generally sound and one area failed for an identifiable reason — a trench, a downspout, a leak — a spot repair is exactly right and it will hold for as long as the rest of the surface does.
Preventing the next one
- Keep the joints full. Check them once a year, top them up, and re-set polymeric sand per its instructions. This is ten minutes and it protects the interlock.
- Watch where roof water goes. A downspout extension is the cheapest hardscape insurance available.
- Fix irrigation leaks fast, especially any line running under or beside a paver surface.
- Do not park heavier than the field was built for, and if that changes, say so before it ruts.
- Keep a stack of spare pavers from the original run somewhere out of the sun. Five years from now the same paver from a different production lot will not match, and a handful of spares is the difference between an invisible repair and an obvious one.
What to ask a contractor about a repair
- What caused it? If nobody has dug a test hole or looked at where the water goes, the diagnosis is a guess and the repair is a guess.
- How far past the dip are you excavating? "To sound base" is the answer. "Just the low spot" is not.
- How deep is the base going back in, and is it compacted in lifts? Same question as a new install, for the same reason.
- How thick is the bedding sand going to be? One inch. If the answer is two or three, you are being sold the failure again.
- What are you doing about the water? If the cause was water and the plan does not include changing where it goes, the repair has a shelf life.
- Is this a spot repair or does the whole field need rebuilding? A contractor willing to tell you the uncomfortable version of that answer is the one to hire.
Interlocking paver systems set on an engineered base: driveways, patios, and courtyards that flex without cracking.
Read next
- How Deep Should a Paver Base Be?Base depth by use, why compaction happens in lifts, and the reason most failed paver jobs failed underneath rather than on top.10 min read
- Do Retaining Walls Need Drainage?Yes, every one of them. Hydrostatic pressure, the gravel chimney, filter fabric, perforated pipe to daylight, and why almost every failed wall failed wet.11 min read
- When a Retaining Wall Needs an EngineerHeight is only part of it. Surcharge, the slope above and below, tiering, geogrid, and the failure modes an engineer checks that nobody else is checking.10 min read